In early spring 2023 we decide to redecorate our holiday apartment in southern Spain.
We asked for quotes from three local painters, and they came and estimated the work needed. One specific problem was that we could not simply paint the entire apartment (living, bedrooms, bathrooms, etc.) all at the same time. We needed time to empty one room, and then move stuff back in, and empty the next. In addition between finishing the painting in one room and then moving back in, we also brought in a professional cleaning company to clean and polish the marble floors (also room by room).
We were lucky in finding a company that was working locally on the façade of some apartments, and could juggle their time accordingly.
One step at a time...
We started in the master bedroom and bathroom. So our first step was to empty the room as much as possible of all moveable furniture. We also took everything off the walls. During this time we moved into the guest bedroom and bathroom.
We were lucky in that the only thing we could not remove from the room was the bed frame, and the curtain rails.
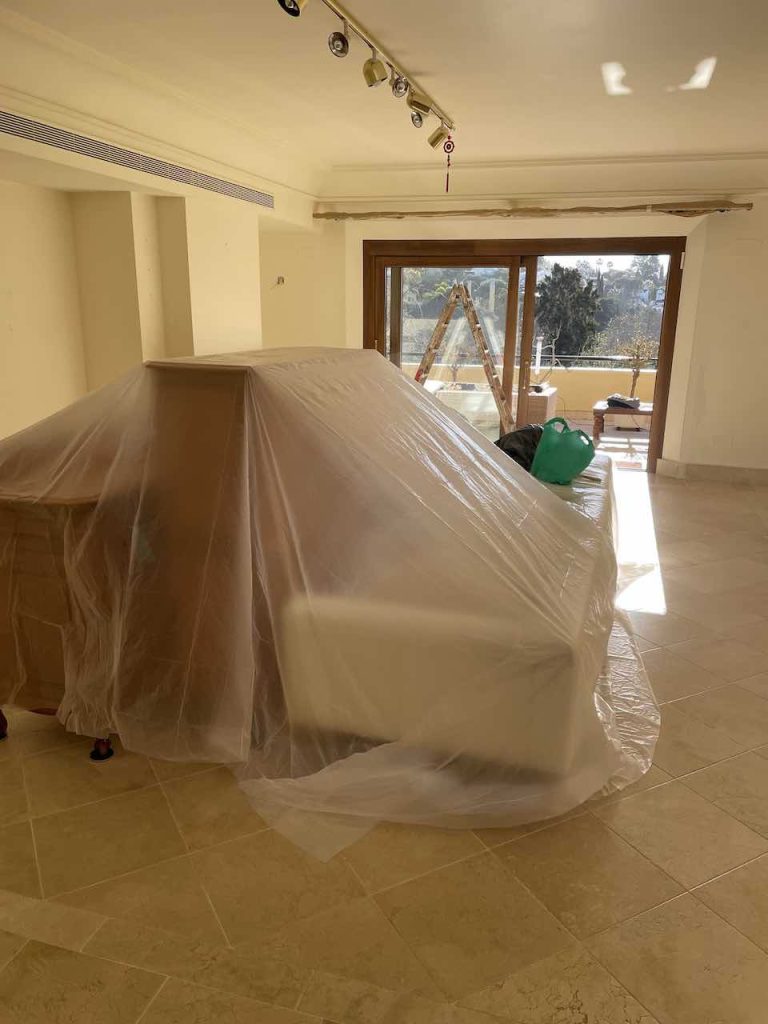
Above we can see all the heavy furniture covered in the living room. Our painters did not cover the floor, but they were constantly washing it to remove any paint drops, etc.
The first thing they did was prepare the walls and ceiling. They cleaned the walls but did not wash them down. Most of the preparation work was to fill all the holes and cracks.
We had removed everything from the walls, and we only left in place the holes/hooks that we wanted to keep. They were particular careful in filling and smoothing down any repairs, etc. The reality is that the original finish on the walls and ceiling coving, etc. was not perfect, so they were not going to be able to produce perfectly flat surfaces. However, the ceilings themselves were surprisingly flat and smooth.
It’s also true that the wall finish in the bathrooms was a bit more rugged and the painters were certainly not going to change that.
They then used painters tape to mask sockets, switches, curtain rails, and skirting, but not door frames which were the same colour as the walls.
When asked about painting things like doors, door frames, etc. they told me that was the job of carpenters.
It’s interesting to see the different approaches used by painters in different countries. The one thing that surprised me most was that they did not remove the socket and switch frames, but simply covered them in masking tape. After I noticed this in the first room, I removed and later refitted all the frames in all the other rooms.
Most of the work was with rollers, and I notice that they always use round tipped brushed for the corners, edges, and coving.
They did not prime the wall, but simply applied two coats of paint (leaving the first coat to dry over night).
As usual they started by painting all the corners, etc. with a brush, and then used the roller for the large surfaces.
The main colour was the same as used previously, a cream colour often found in apartments in southern Spain.
The paint used was from Isavel and the main colour was custom code PL002 which was identified as “Escaleras Valgrande en Supra Nieve Sanit”. I guess this is a specific mix known to our local point of sale.
We also decided to add highlights in the bathrooms. In the master bathroom we used Eurotrend E03.55 (a kind of ‘rusty’ orange-red) and in the guest bathroom E12-60 (a darkish green).
My best estimate for the time spent painting the entire apartment was around 22 to 25 hours, spread over 3 weeks.