I always manage to sell-on my old MacBook Pro’s, and often I also include the old external storage. The latest one to go was a 2TB Western Digital “My Passport for Mac”, an enclosed hard disk drive.
When I bought my new M3 MacBook Pro I replaced the older backup hard disk with a Samsung 4TB solid-state drive.
What I’m interested in here is to completely erase and reformat the old hard disk, so it can be included when selling an older MacBook Pro.
Reformatting
The reason why the WD My Passport for Mac was so popular was that it had some really useful features, e.g. cloud storage, password protection with hard drive encryption, and compatibility with Apple’s Time Machine backup software.
To erase and reformat a hard disk just go to Apple’s instructions on “Erase and reformat a storage device in Disk Utility on Mac“.
Secure erase
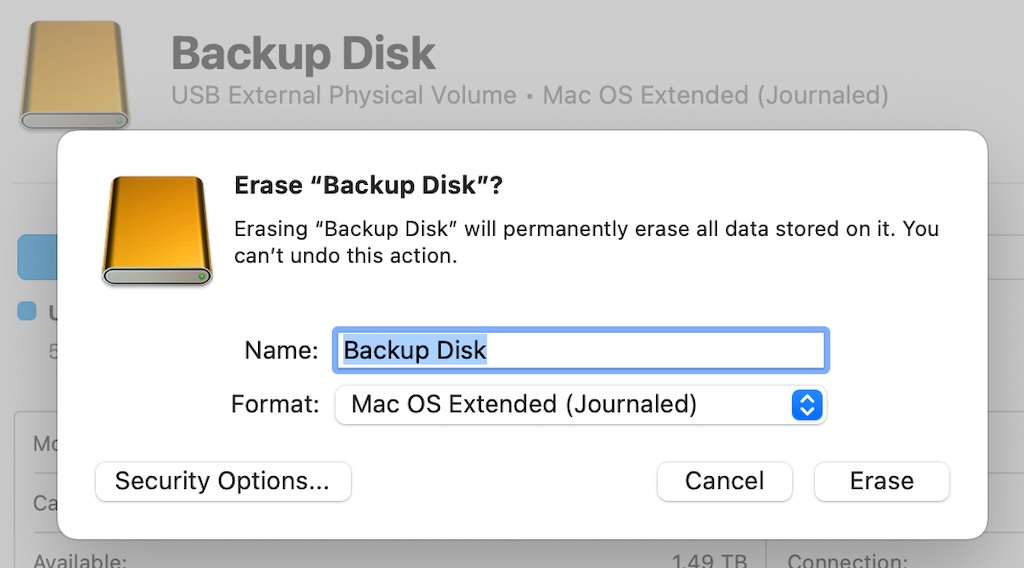
Above we can see that erase function in the Disk Utility.
And below we can see the “Security Options” window, where its possible to select the degree of security needed, which obviously affects the time it takes to over-right the content on the hard disk.
With a big hard disk it can take a long time, and even more so if the “Most Secure” option is selected. But it will continue as a background task.
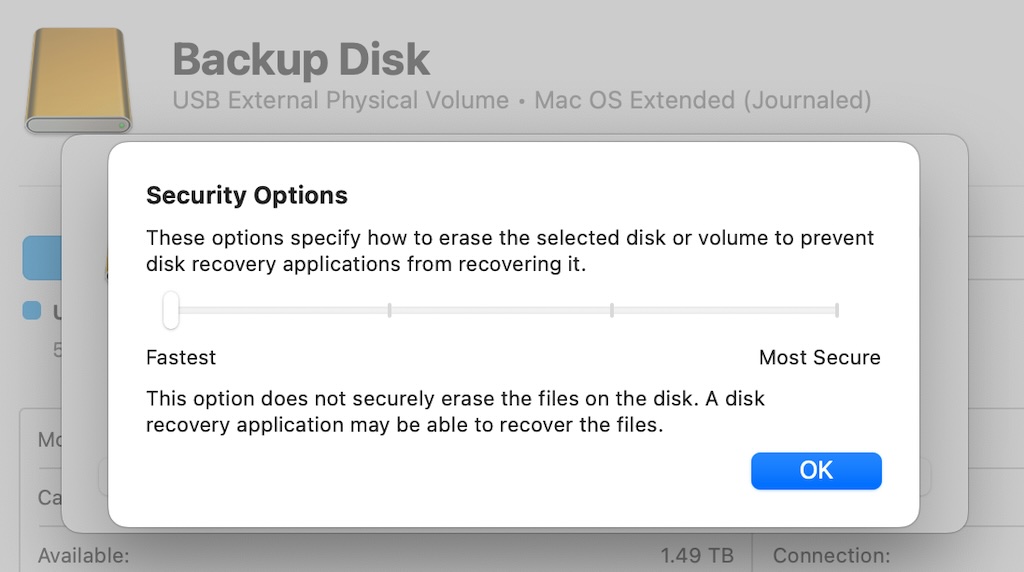
It’s important to know that when erasing a disk or partition, the macOS Disk Utility does not erase the actual files, it erases only the information used to access the files. Many commonly available disk recovery apps can easily recover the files.
When securely erasing a disk or partition, Disk Utility writes over the erased files, so they can never be recovered. You can choose how many times to write over the files. Writing over the files several times is more secure than writing over them once, but it takes longer.
The “Most Secure” is a 7-Pass Erase, which writes zeros over the entire disk seven times. This is highly secure, but it takes seven times longer than the Zero Out Data option.